Setting up PlanetScale
With PlanetScale, we can manage our databases in a serverless fashion in a similar to how we manage our code. PlanetScale offers the option to develop our database like we develop our code with branches, allowing us to follow a trunk-based approach as we update, manage, and release changes to our database.
In short, PlanetScale will allow us to:
- Host a production database on our
mainbranch - Host a development/test database on our
devbranch - Make changes to our schema on our
devbranch - Merge those changes into our
mainbranch
For many of us, this is a familiar workflow when working with source code - let's do the same with our databases!
Setting up an account with PlanetScale is fairly simple. Go to the website, sign up for an account, and create your first database for free once you're directed to your dashboard.
Disclaimer: I'm not endorsed by PlanetScale, I simply love their platform and prefer it for my personal projects
Create a database, and once PlanetScale is finished setting everything up, we should be presented with a basic dashboard:
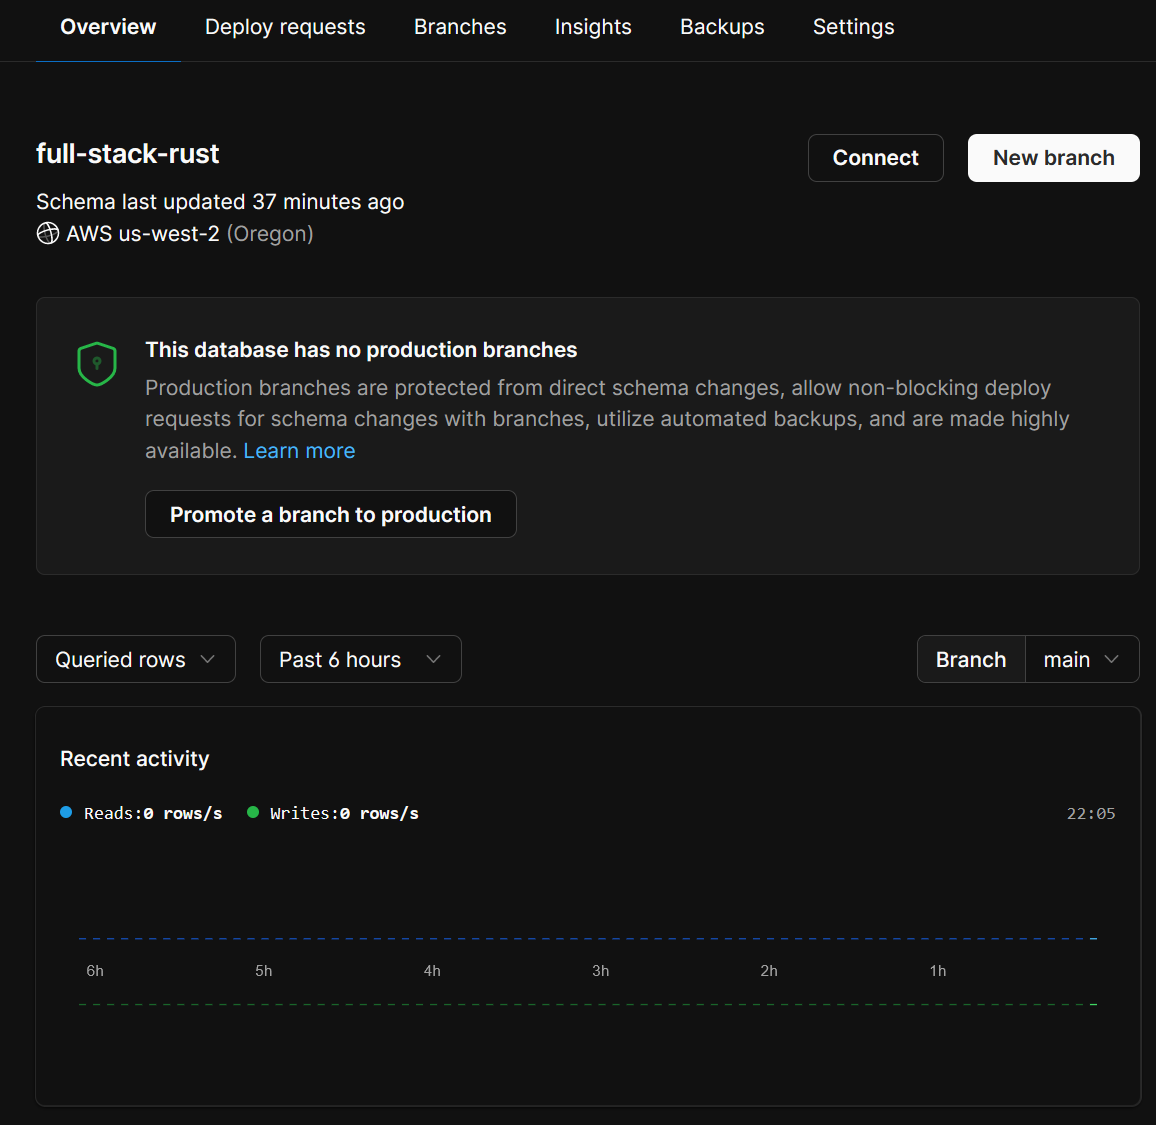
Sweet! Go ahead and grab a copy of your database's connection string by hitting the Connect button. Next, create a new branch named dev, and again, copy the credentials - these are different from the main branch!
PlanetScale doesn't allow direct schema alteration on the main branch and instead encourages us to make changes to our dev and "merge" them into our main branch database. Pretty neat, huh?
With your credentials copied into a scratch pad (that you hopefully won't forget!), let's start writing some code to set up our schema programmatically.